
Windows 11 Wi-Fi Not Working? 10 Fixes That Actually Help
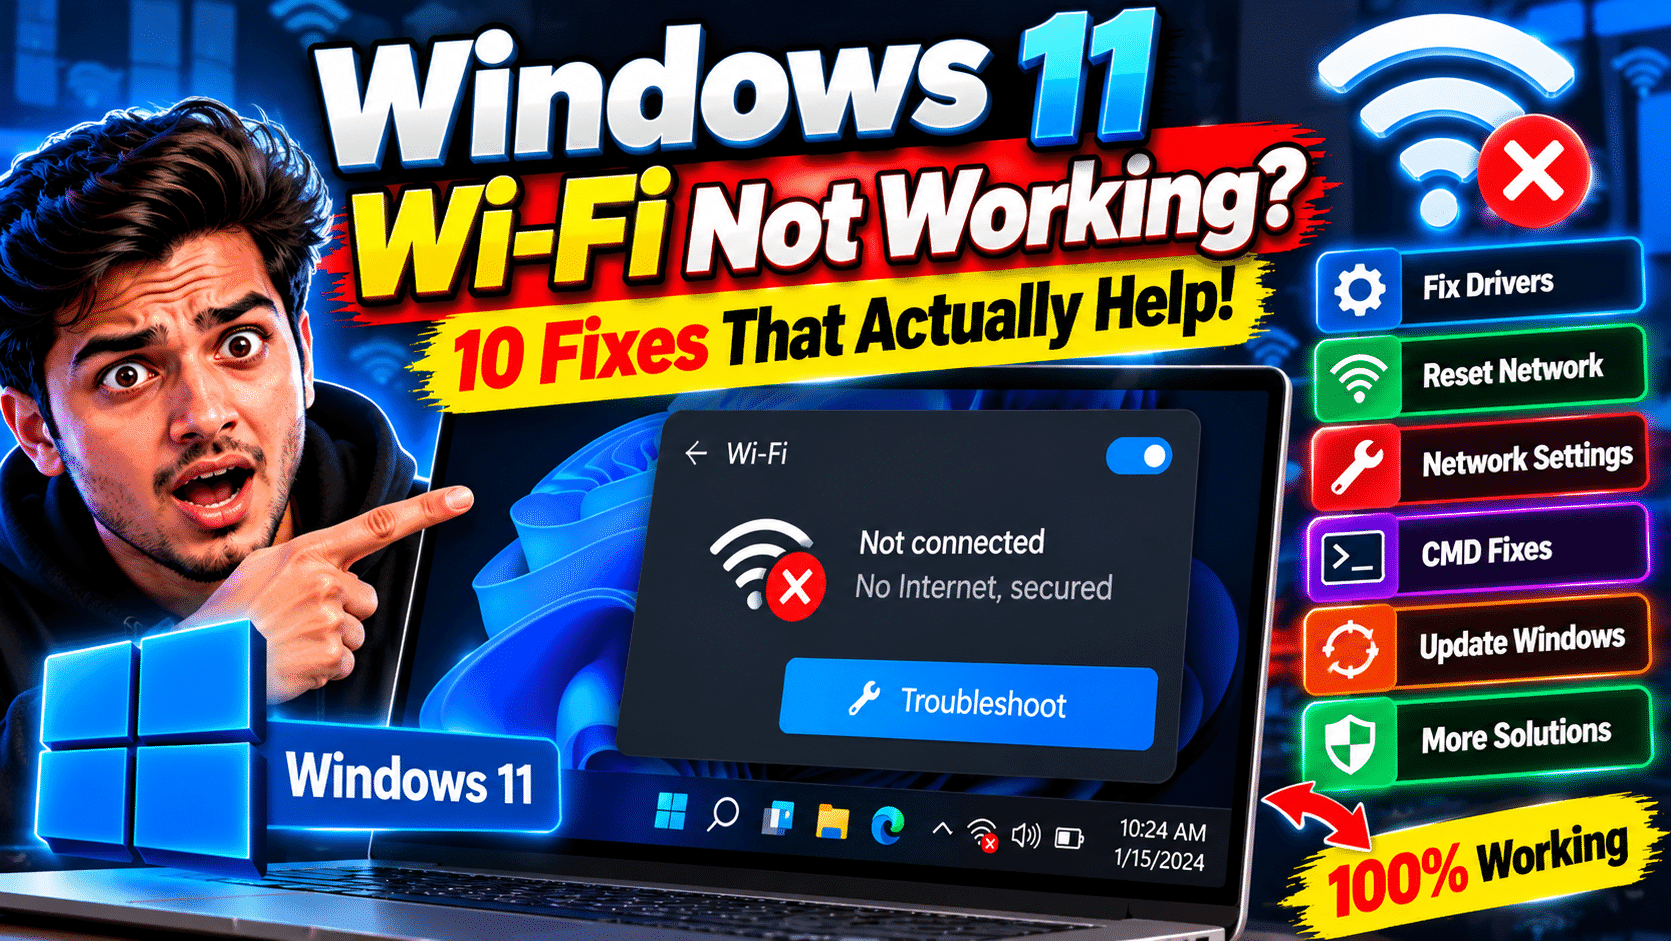
There’s nothing more frustrating than a Windows 11 PC that refuses to connect to Wi-Fi — especially when your phone is happily online sitting right next to it. Before you call your ISP or buy a new adapter, work through these fixes in order. They go from 10-second checks to deeper repairs, and one of them resolves the issue for most people.
1. The Obvious Checks First
Is Wi-Fi actually turned on? Check Settings → Network & internet → Wi-Fi — and the physical Wi-Fi switch or function key (often Fn + F2/F3) on laptops. Also confirm Airplane Mode is off. I’ve lost count of how many “broken Wi-Fi” cases were just an accidental keypress.
2. Restart Everything (In This Order)
Restart your router first (unplug 30 seconds, plug back in, wait 2 minutes), then restart your PC. This resolves a surprising number of connection issues — stale DHCP leases and hung router processes are the usual culprits.
3. Forget and Reconnect to the Network
Go to Settings → Network & internet → Wi-Fi → Manage known networks, select your network, click Forget, then reconnect from scratch with the password. Corrupted saved profiles cause more Wi-Fi failures than people realize.
4. Run the Built-In Troubleshooter
Windows has a decent network troubleshooter: Settings → System → Troubleshoot → Other troubleshooters → Network and Internet → Run. It won’t fix everything, but it correctly diagnoses driver and configuration issues about half the time — and it’s one click. Microsoft’s official Wi-Fi troubleshooting guide walks through the same steps with illustrations.
5. Update or Reinstall the Wi-Fi Driver
Driver problems are the most common deep cause. Open Device Manager (right-click Start), expand Network adapters, right-click your Wi-Fi adapter → Update driver. If that doesn’t help, choose Uninstall device (don’t delete the driver software), restart — Windows will reinstall it fresh. For stubborn cases, download the latest driver from your laptop/adapter manufacturer’s website using another device.
6. Reset the Network Stack
Open Command Prompt as administrator and run these commands one by one, then restart:
netsh winsock reset
netsh int ip reset
ipconfig /release
ipconfig /renew
ipconfig /flushdns
This clears corrupted network configurations back to defaults. It fixes a whole class of “connected but no internet” problems.
7. Check for Windows Updates
Microsoft regularly ships Wi-Fi driver and stack fixes via Windows Update. Go to Settings → Windows Update and install everything pending — including optional driver updates, which often contain the exact Wi-Fi fix you need.
8. Disable Power Saving on the Wi-Fi Adapter
Windows sometimes powers down the Wi-Fi adapter to save battery and fails to wake it properly. In Device Manager, right-click your Wi-Fi adapter → Properties → Power Management → uncheck “Allow the computer to turn off this device to save power.”
9. Try a Different Frequency Band
If your router broadcasts both 2.4GHz and 5GHz, try the other one. 5GHz is faster but shorter range; 2.4GHz reaches further through walls. In the Wi-Fi adapter’s Advanced properties, you can also try forcing a specific band to test.
10. Reset Network Settings (Last Resort)
Settings → Network & internet → Advanced network settings → Network reset wipes all network adapters and settings back to factory defaults. You’ll need to re-enter Wi-Fi passwords afterward, but it resolves the most stubborn software-side issues short of reinstalling Windows.
Still Not Working?
If none of these helped, the issue is likely hardware (a failing Wi-Fi card — a $15 USB Wi-Fi adapter is a cheap test) or your router/ISP. But in my experience, fixes 1–6 resolve the vast majority of Windows 11 Wi-Fi problems. For more troubleshooting guides, visit our tutorials section and reviews.