How to Create a Windows 11 Bootable USB Drive (Step by Step)
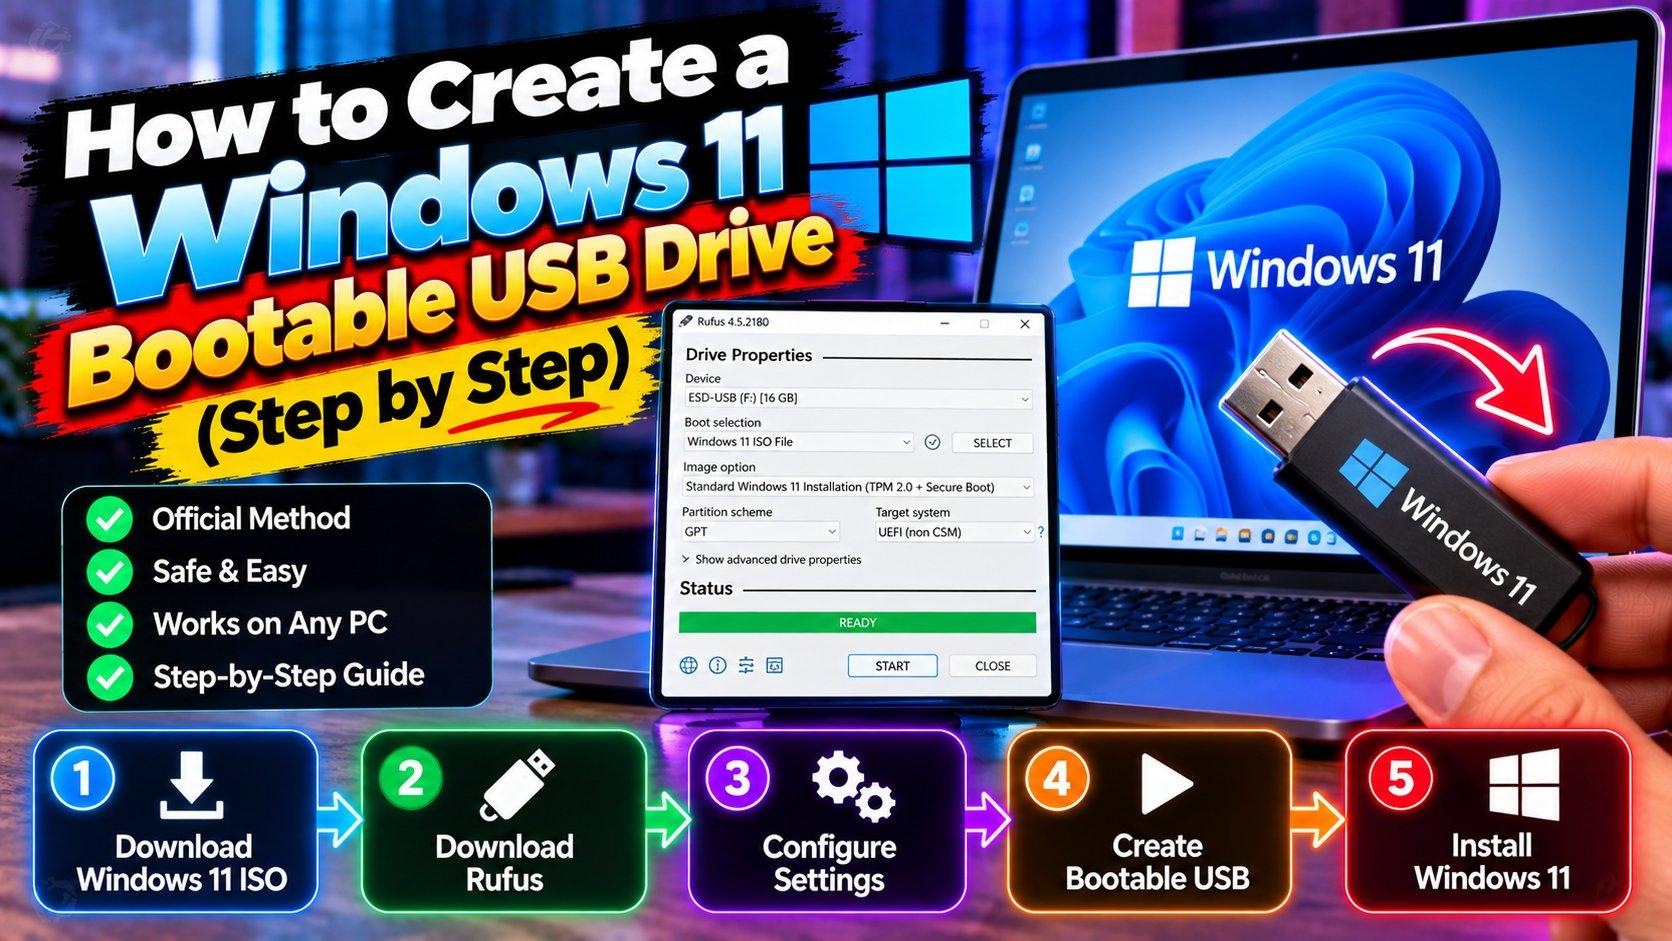
A Windows 11 bootable USB drive is one of those things you don’t think about until you desperately need one — a crashed system, a new SSD, or a fresh start. The good news: making one is free, takes about 20 minutes, and you only need an 8GB+ USB drive. Here’s exactly how to create a Windows 11 bootable USB drive using Microsoft’s official tool.
What You’ll Need
A USB flash drive with at least 8GB of space (everything on it will be erased, so back up first), a working Windows PC, and an internet connection. That’s it — no third-party software required.
Step 1: Download Microsoft’s Media Creation Tool
Go to Microsoft’s official Windows 11 download page and click Download Now under “Create Windows 11 Installation Media.” This is the only safe source — never download Windows ISOs from random sites.
Step 2: Run the Tool and Accept the Terms
Open the downloaded file (MediaCreationTool.exe), accept the license terms, and choose your language and edition. The defaults (matching your current PC) are fine for most people.
Step 3: Choose “USB Flash Drive”
When asked what media to use, select USB flash drive (not ISO file) and click Next. The tool will show your connected USB drives — pick the right one carefully. Everything on it will be wiped.
Step 4: Let It Download and Create
The tool downloads Windows 11 (about 5–6GB) and writes it to the USB. This takes 10–20 minutes depending on your internet speed. Don’t remove the drive until it says “Your USB flash drive is ready.”
Step 5: Boot From the USB
Plug the USB into the target PC, restart it, and press the boot menu key during startup — usually F12, F2, Esc, or Del depending on your brand. Select the USB drive from the boot menu, and the Windows 11 installer will launch.
Step 6: Install Windows 11
Follow the on-screen installer: choose your language, click Install Now, enter your product key (or skip — you can activate later), select the drive to install on, and let it run. The PC will restart a few times. When it’s done, you’ll go through the normal Windows setup.
Common Mistakes to Avoid
Wrong USB selected: double-check the drive letter — the tool erases everything on it. PC won’t boot from USB: make sure Secure Boot settings in BIOS allow it, and try a USB 2.0 port if 3.0 fails. Missing drivers after install: download Wi-Fi and chipset drivers on another device beforehand if your PC needs them to get online.
Keep It Somewhere Safe
Label the USB and store it somewhere you’ll remember. A Windows 11 bootable USB doesn’t expire, and having one ready turns a future PC disaster from a crisis into a 30-minute fix. For more Windows guides, visit our tutorials section.