
How to Use Snap Layouts in Windows 11
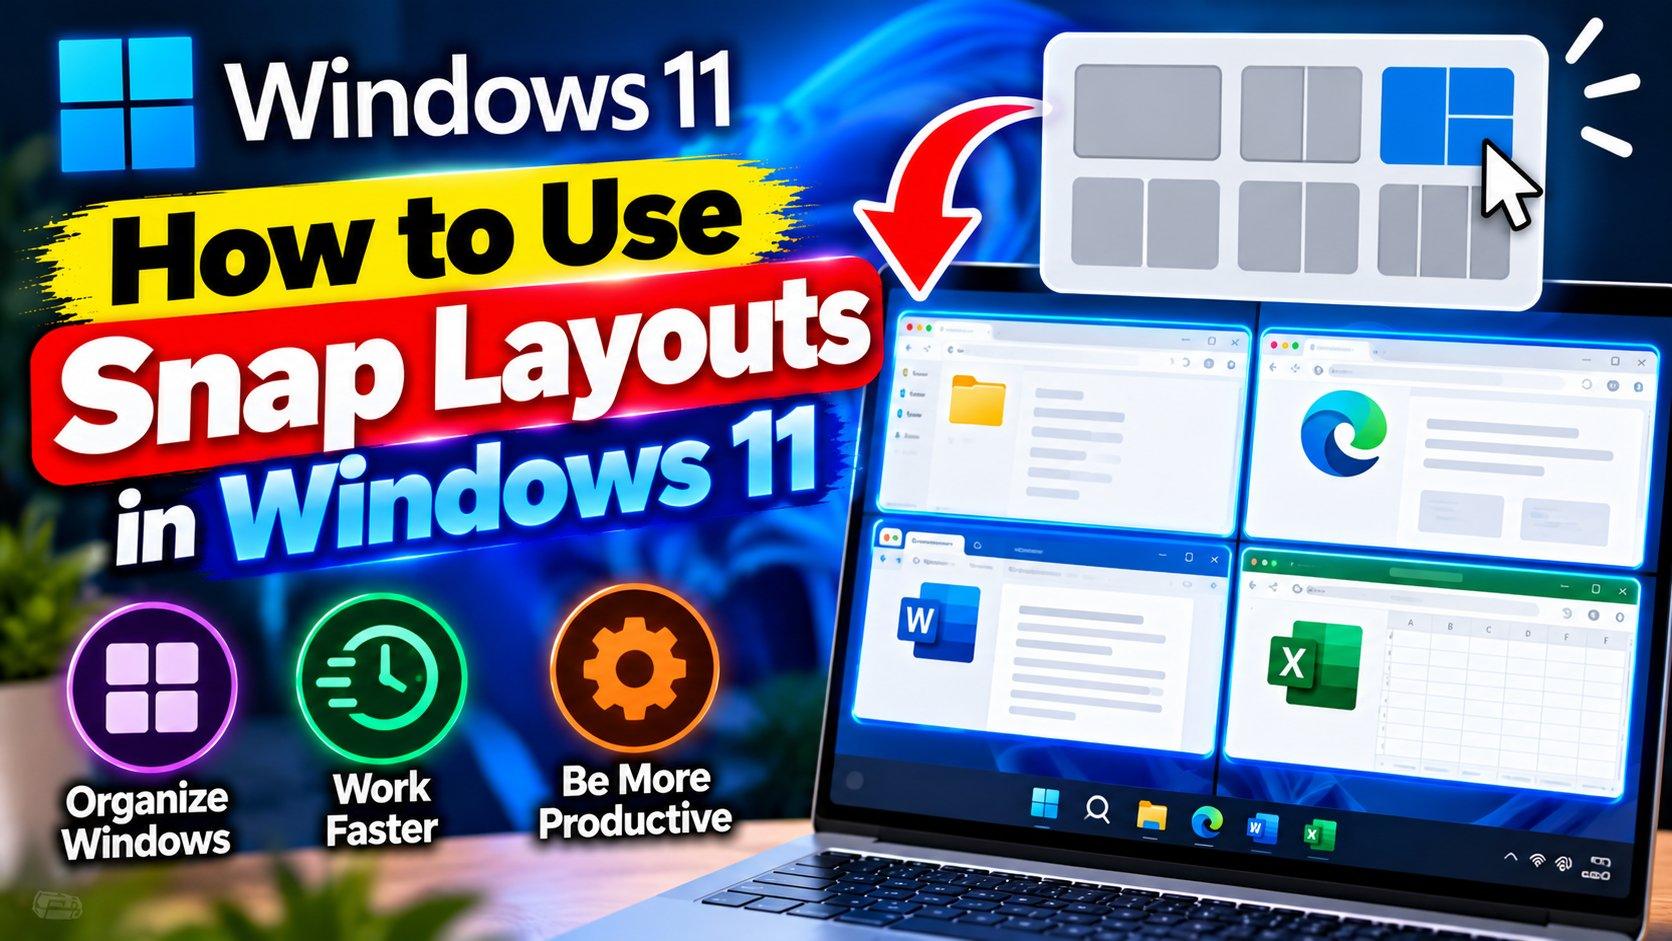
Juggling a browser, a document, and a chat app across one screen gets old fast. Alt-tabbing through a pile of maximized windows is nobody’s idea of productive. That’s exactly what snap layouts Windows 11 ships to fix — a built-in way to tile your windows into neat, useful arrangements in about three clicks.
If you’ve never touched it, you’re in for a small revelation. Here’s how it works.
What Are Snap Layouts, Anyway?
Snap layouts are preset window arrangements — halves, thirds, quadrants, grids — that Windows offers you on the spot. Instead of dragging windows around and eyeballing the sizes, you pick a layout and Windows snaps each window into its zone, sized perfectly. On a standard monitor you’ll typically see four layout choices; on ultrawide screens you get six. The layouts adapt to your screen size and orientation automatically.
Think of it as the difference between arranging furniture by shoving it around versus following a floor plan. Same room, much less effort.
Snap Layouts Windows 11: Two Ways to Open Them
There are two ways to bring up the layout picker, and both take about a second:
- Hover over the maximize button. Move your mouse over the square maximize icon in the top-right corner of any window (don’t click — just hover). After a beat, the layout flyout appears.
- Press Win + Z. With the window you want to place active, hit the Windows key and Z together. Same flyout, no mouse needed.
Microsoft documents both methods in its official snap layouts guide. One caveat: a few older desktop apps with custom title bars don’t show the menu on hover — Win+Z usually still works for those.
Pick a Layout and Place Your Windows
Once the flyout is open, here’s the flow:
- Click the zone in the layout where you want your current window. It snaps there immediately.
- Snap Assist kicks in: the remaining zones show thumbnails of your other open windows.
- Click a thumbnail to fill the next zone. Repeat until the layout is full.
That’s the whole thing. A two-app side-by-side takes two clicks. A four-quadrant research setup takes four. Compare that to manually resizing everything and you’ll wonder why you waited this long. For more Windows walkthroughs, browse our PC software section.
Snap Groups: Jump Back to Your Whole Setup
Here’s the part people miss. Once you’ve snapped two or more windows together, Windows remembers them as a Snap group. Switch to another app, then hover over any of the group’s apps on the taskbar — you’ll see the group’s preview alongside the single window. Click the group preview and your entire arrangement pops back at once.
It’s genuinely useful. Research in one group, chat and email in another, and you flip between whole workspaces instead of rebuilding them window by window.
Customize and Troubleshoot Snap Layouts Windows 11 Settings
Everything lives under Settings > System > Multitasking. The toggles that matter:
- Show snap layouts when I hover over a window’s maximize button — turn this off if the flyout annoys you; Win+Z still works.
- Show snap layouts that the app is part of when I hover over the taskbar buttons — this controls whether Snap groups appear on taskbar hover.
- Snap Assist options — like suggesting which window to fill next, or resizing neighboring windows together.
If layouts don’t appear at all, check that Snap windows is enabled on that same page — it’s on by default, but worth a look. And remember the flyout needs a moment: hover, pause, and let it appear rather than flicking the mouse past. Microsoft’s support site has fixes if a specific app refuses to cooperate.
Old-school alternative still works, by the way: drag a window to the left or right edge of the screen for a quick half-screen snap, or hit Win + Left/Right arrow. But once you’ve used layouts, the dragging starts to feel like the Stone Age. For more ways to get around Windows faster, check our tutorials and how-to guides.
Three clicks, perfectly arranged windows, zero fiddling. Your multitasking just got an upgrade.
Related Reading
Keep exploring: Windows 11 26H2 Is Here: What’s New and Should You Install It?, 5 Best Free Screen Recorder Windows Tools in 2026, and How to Use Google Drive Like a Pro: 9 Google Drive Tips That Actually Help.